Photorealistic Cartoon Backgrounds Tutorial
Written by HelLRaiseR
1. Modeling your scene
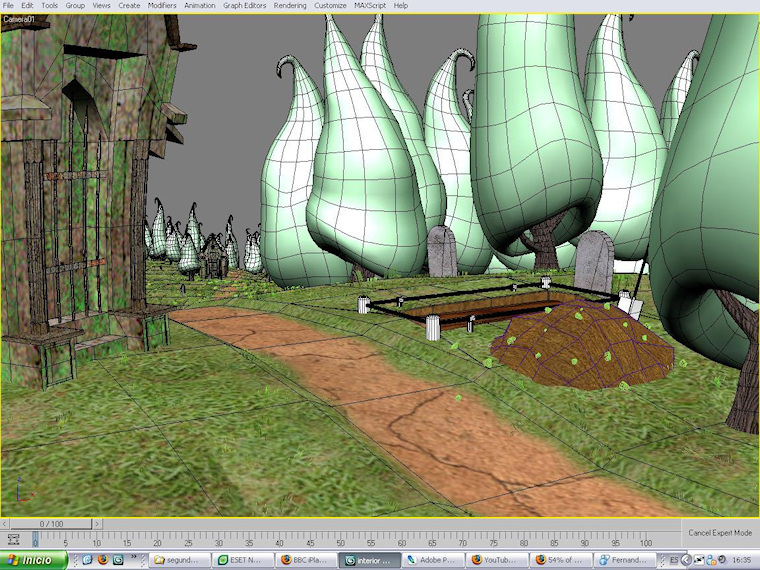
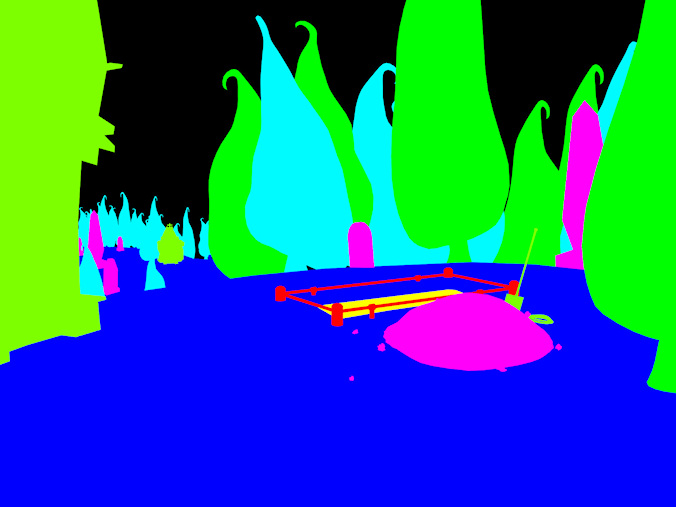
In first time, you must model the scene in a 3D modeler application like 3DS Max, Cinema 4D, Maya, etc. In my case, the person that model the scenes use 3DS MAX. The model must be make using IDs for generate the ID layer. I use this layer for get the masks of the objects in Photoshop (Corel Paint Shop pro in my case).
When the scene is finished, we must test it in WME, and make the corrections. When the scene is definitive, we generates six renders:
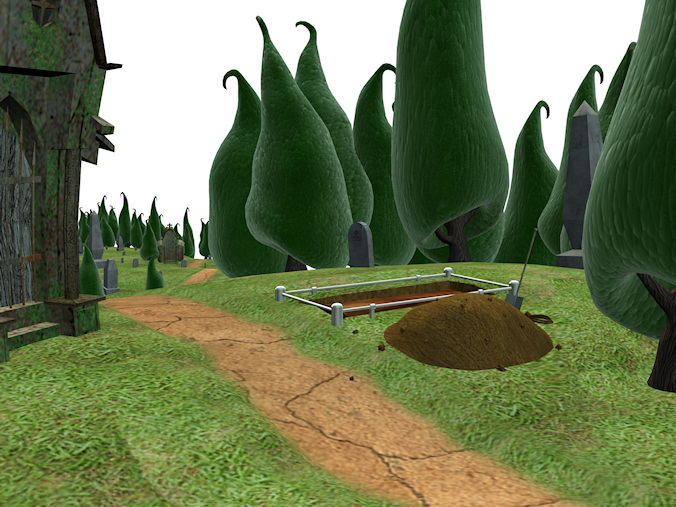
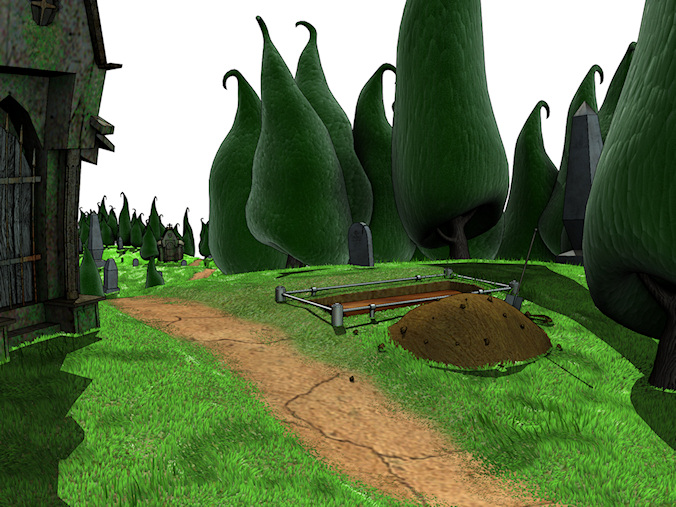
The base image.
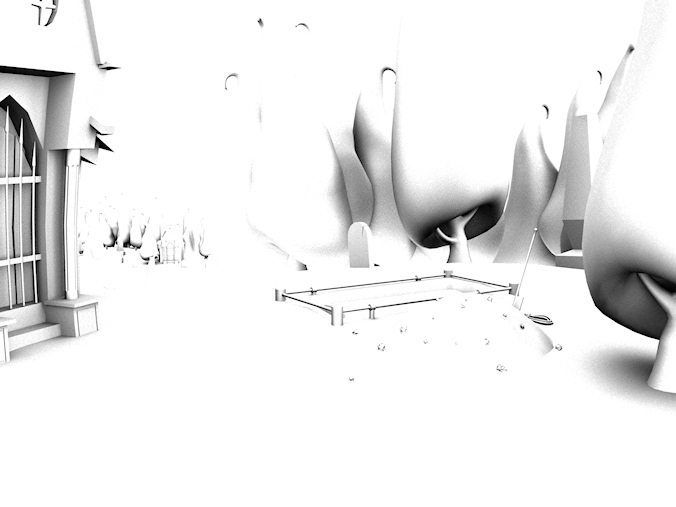
The oclussion layer.
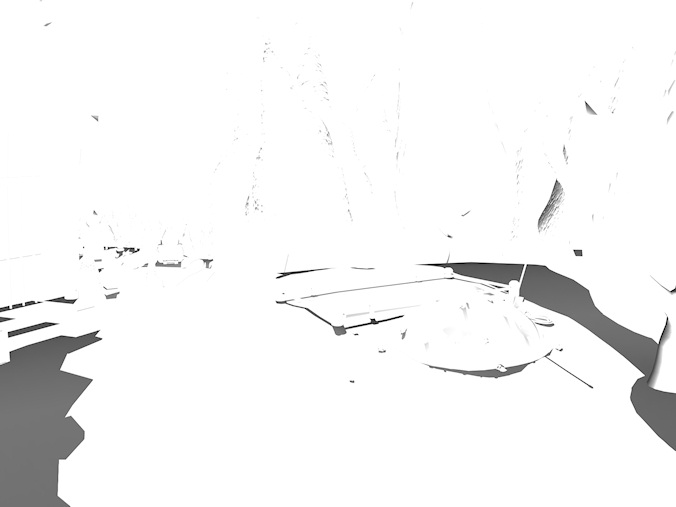
The shadow layer.
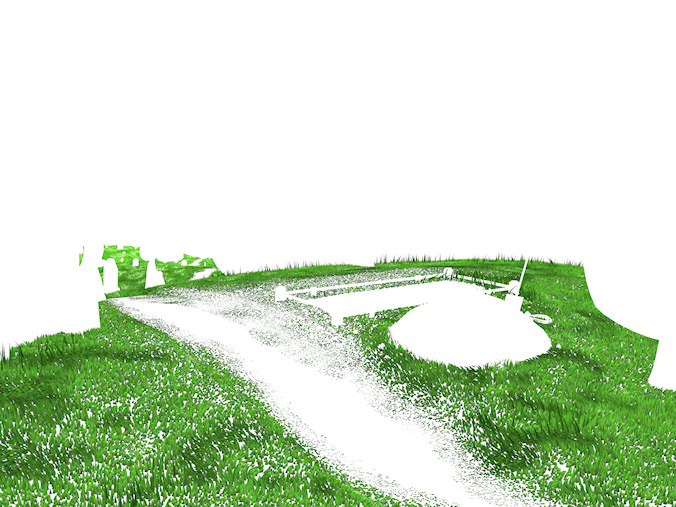
The grass layer.
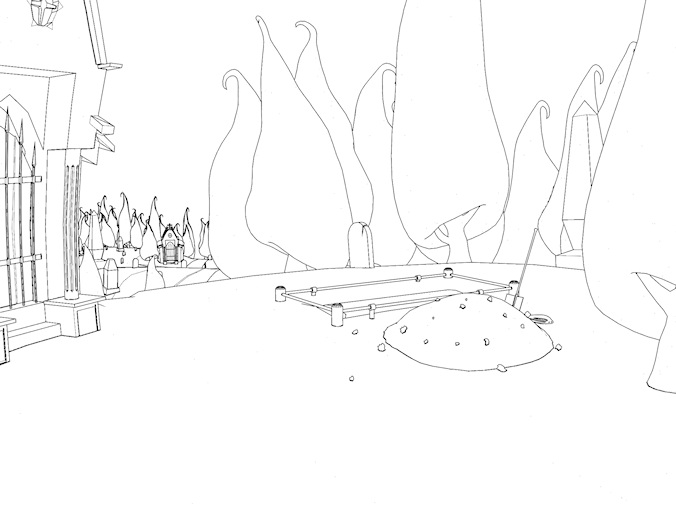
The outline layer.
The ID's layer
The renders must have the double of the resolution of the game. When the scene have complete, we resize the image using “inteligent size” (or similar effect in your drawing tool) to mix, average and ponderates the pixels to get the better results.
2. Import to Photoshop (or other)
Import the images in Photoshop (or other application) in distinct layers with this order:
ID's
shadows
grass
Outline
oclussion
render
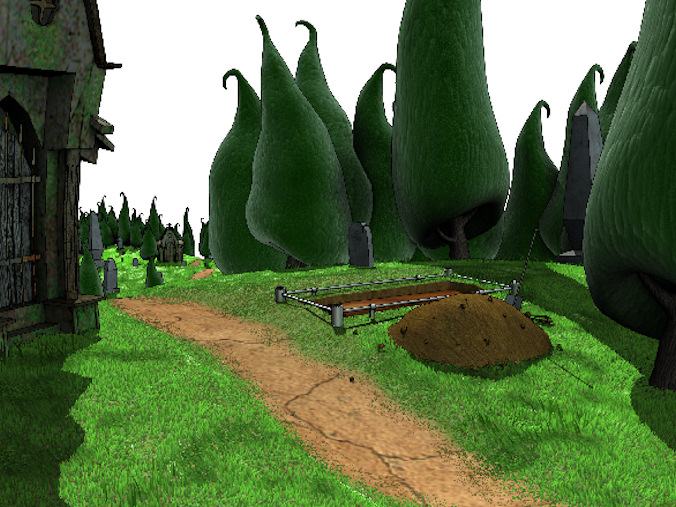
The image must be like this (the ID layer are not visible)
3. Retouch the shadow layer
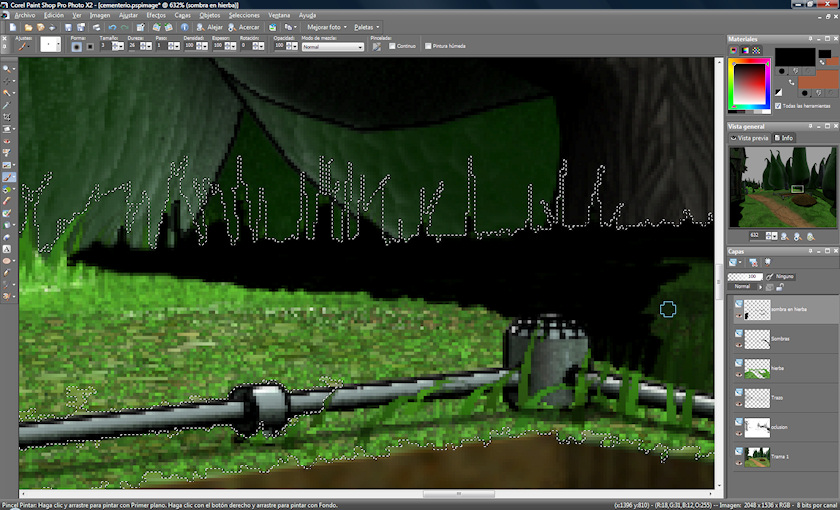
as you can see, the shadows are generated in the floor, not in the grass (I think that isn't possible), you must complete the color selecting the exterior zone of the grass, inverting the selection, and draw the new shadow filling the holes and adjusting the borders in separate layer with black color (0,0,0)
When the new shadow are filled, adjust the layer transparency and erase the old shadow. You will has an image like this one:
4.Optimize the outline
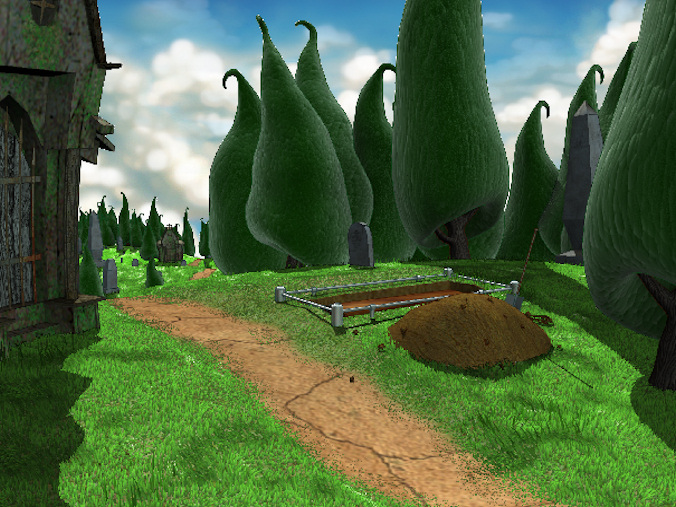
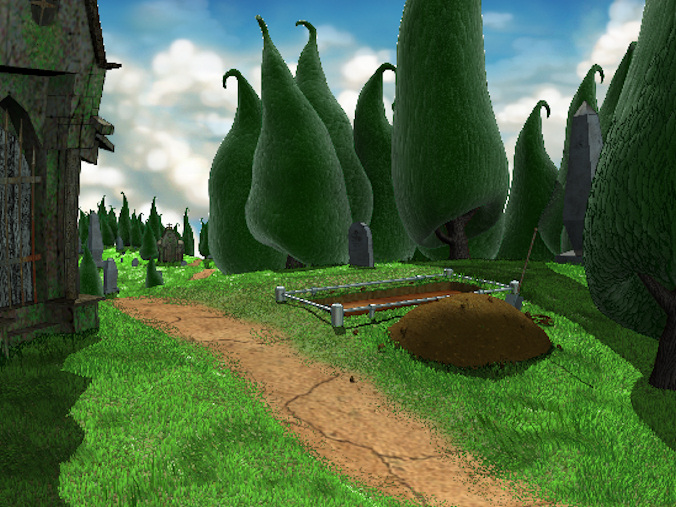
As you can see in the cartoon films on TV, the outline of the backgrounds normally never is black. The most times, the outline color is similar to the surface color but more dark. You must change the black outline color with the appropiate color depending on surface. When you change the outline color, you have a image like this (I've put a sky in a new layer after the render layer).
In this image, the outline layer is in normal mode. There are several ways to adjust the intensity of the outline. You need change the mode of the layer to “multiply”, then you can adjust the transparency of the layer and the outline will be more or less dark. If the original line is clear you can adjust the bright and contrast to make the line dark and more visible.
Now I'm going to delete partially the outline, the objective is that in the illuminated zone, the outline will be clear and in the dark zone the outline will be the original color In some cases this can be reverse (this effect can do with 3D Max Ink & Paint, but I prefer to do this with the drawing app becouse I change the line at my convenience and I can make more clear or dark the line, etc.). To do this, use the eraser tool with a very low transparency value (about 25%) and erase the lines that are illuminated and don`t erase the lines in dark zone. You can erase the line more times becouse you are deleted with a low transparency and when you erase the line, this is more clear.
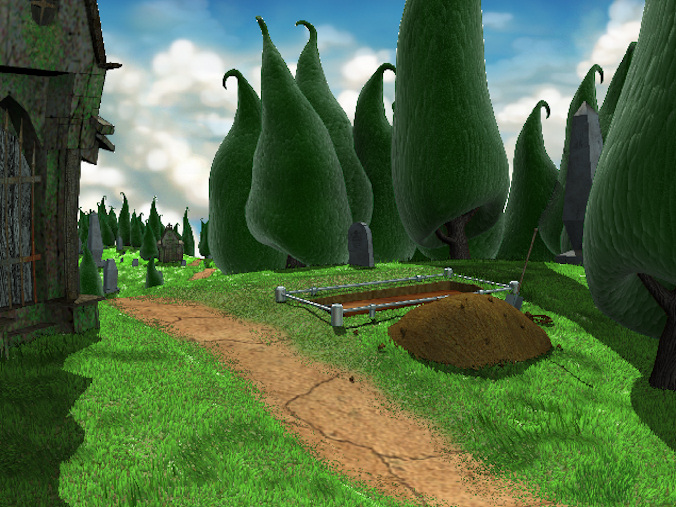
Finally, the image will be similiar to this one.
5. Apply effects
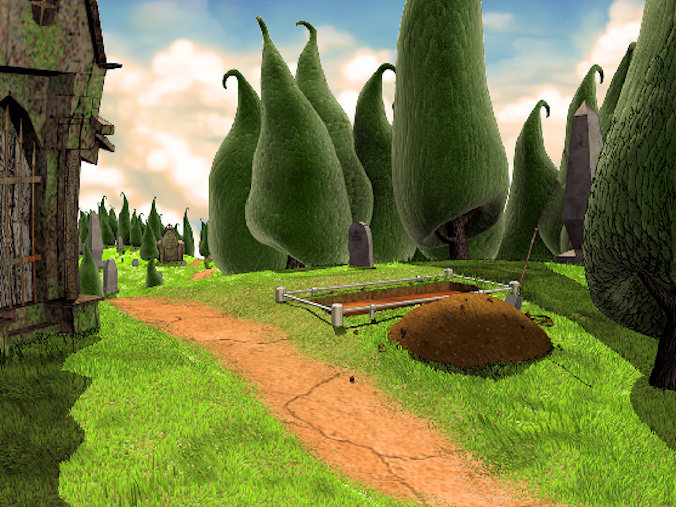
The next step is draw the effects and objetcs that aren't maked with the 3d modeler, i.e.: the ground around the tomb, the detail of the trees, the grass, etc. This is the image (incomplete, It's necessary apply more effects, but it's OK for the tutorial purposes):
6. Apply light effects
When your image are finished, you must to mix and fusion all visible layers, the next step is to adjust the light and the saturation of the color, in the next image I apply the necesary light correction to make a “sunset” environment.
When you finish to apply the light effects, you need to resize the image to the final resolution for use in the game.
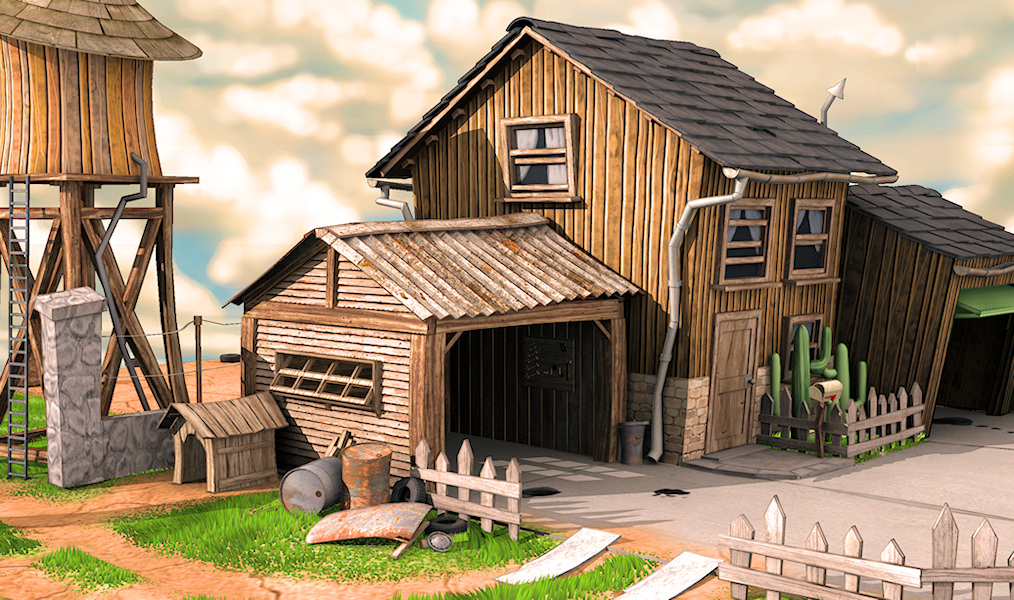
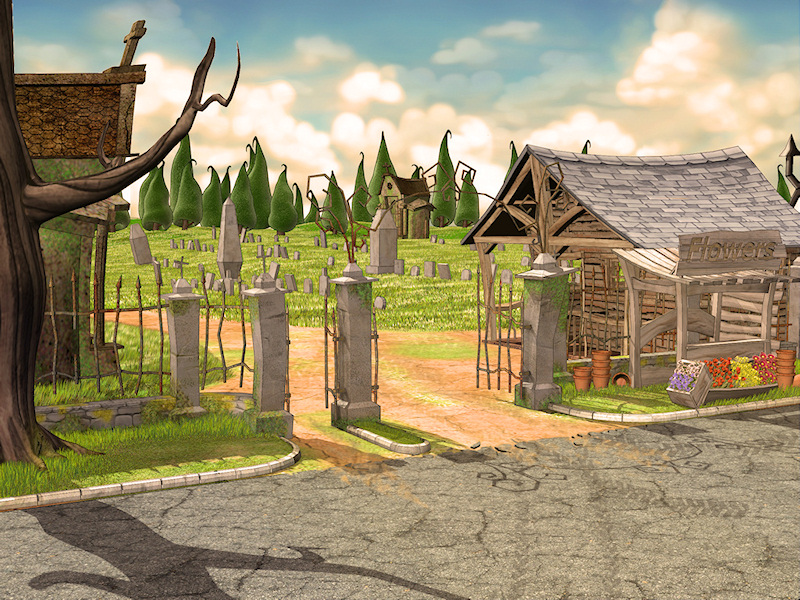
Remember: This background aren't finished, is only published for the tutorial purposes, the next images are corresponded to finished backgrounds.
